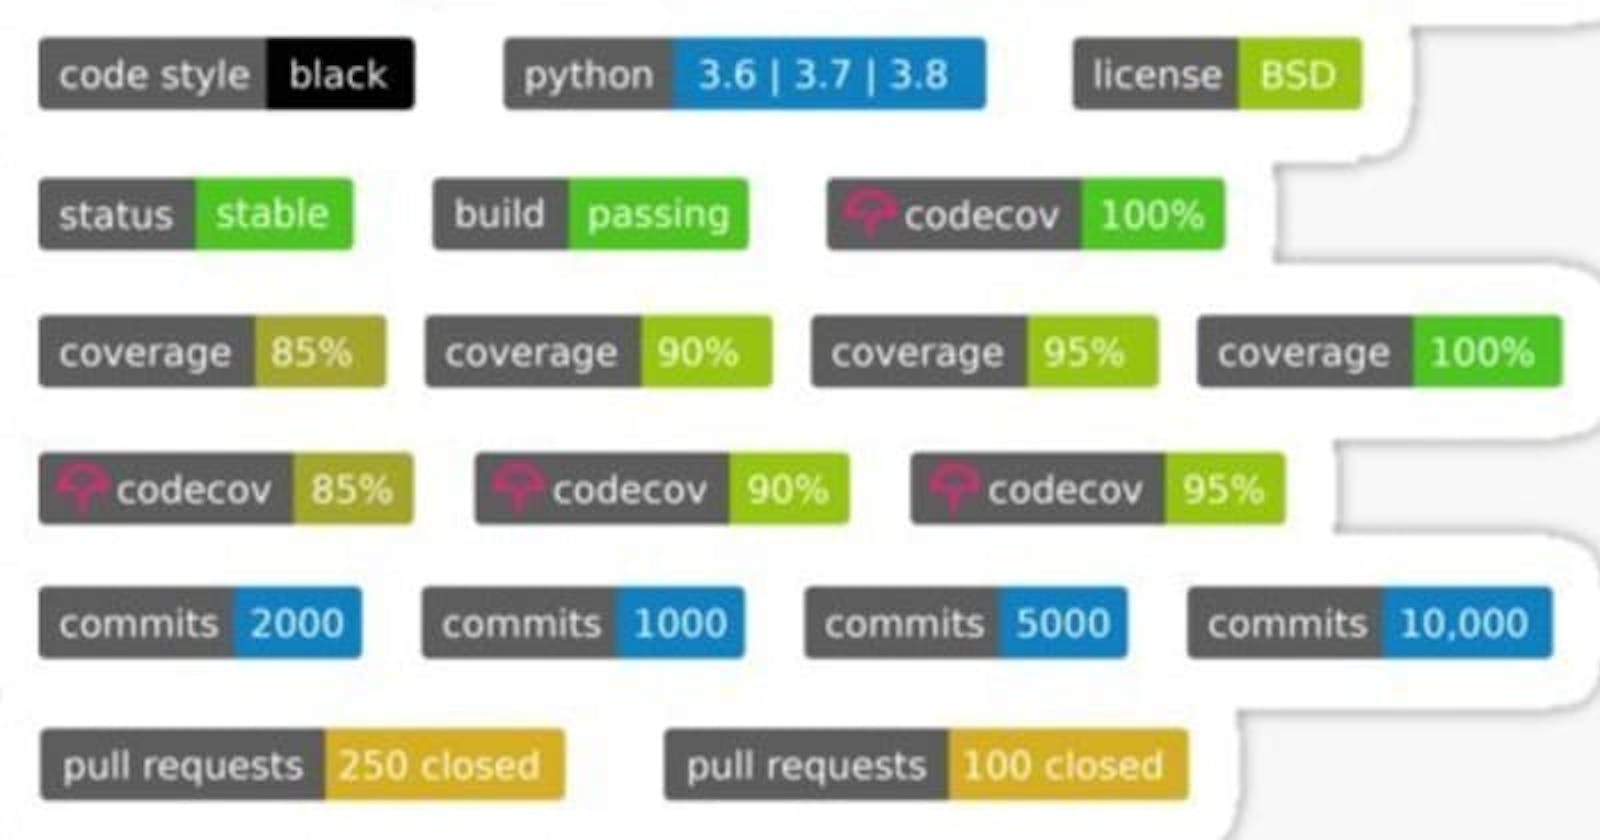
We all have seen a lot of GitHub repositories with a lot of badges, something like this:

And every single one of us, the first time we saw them, we thought 'wow, that looks cool, I want that'. And luckily, it's fairly simple to implement it!
Let's start by talking about Shields.io. Shields.io is a tool used by a lot of developers to show some info about their GitHub repository. Most of the stats related to a repository can be shown by using this, stats like:
- Code coverge percentage
- Stable release version
- Contributors
- Code coverage
- Check if the tests are passing
And many other things that you can check at their official GitHub repository.
But we are here to see how this works, so let's try it, shall we?
First, I'm going to create a new repo from scratch.

Nothing too fancy as we can see. Let's say I wanted to add my Twitter to the readme. That would be easy right? Just add a link and that's it. But if we wanted to do it a little bit prettier and more professional, we could use Shields.io for this.
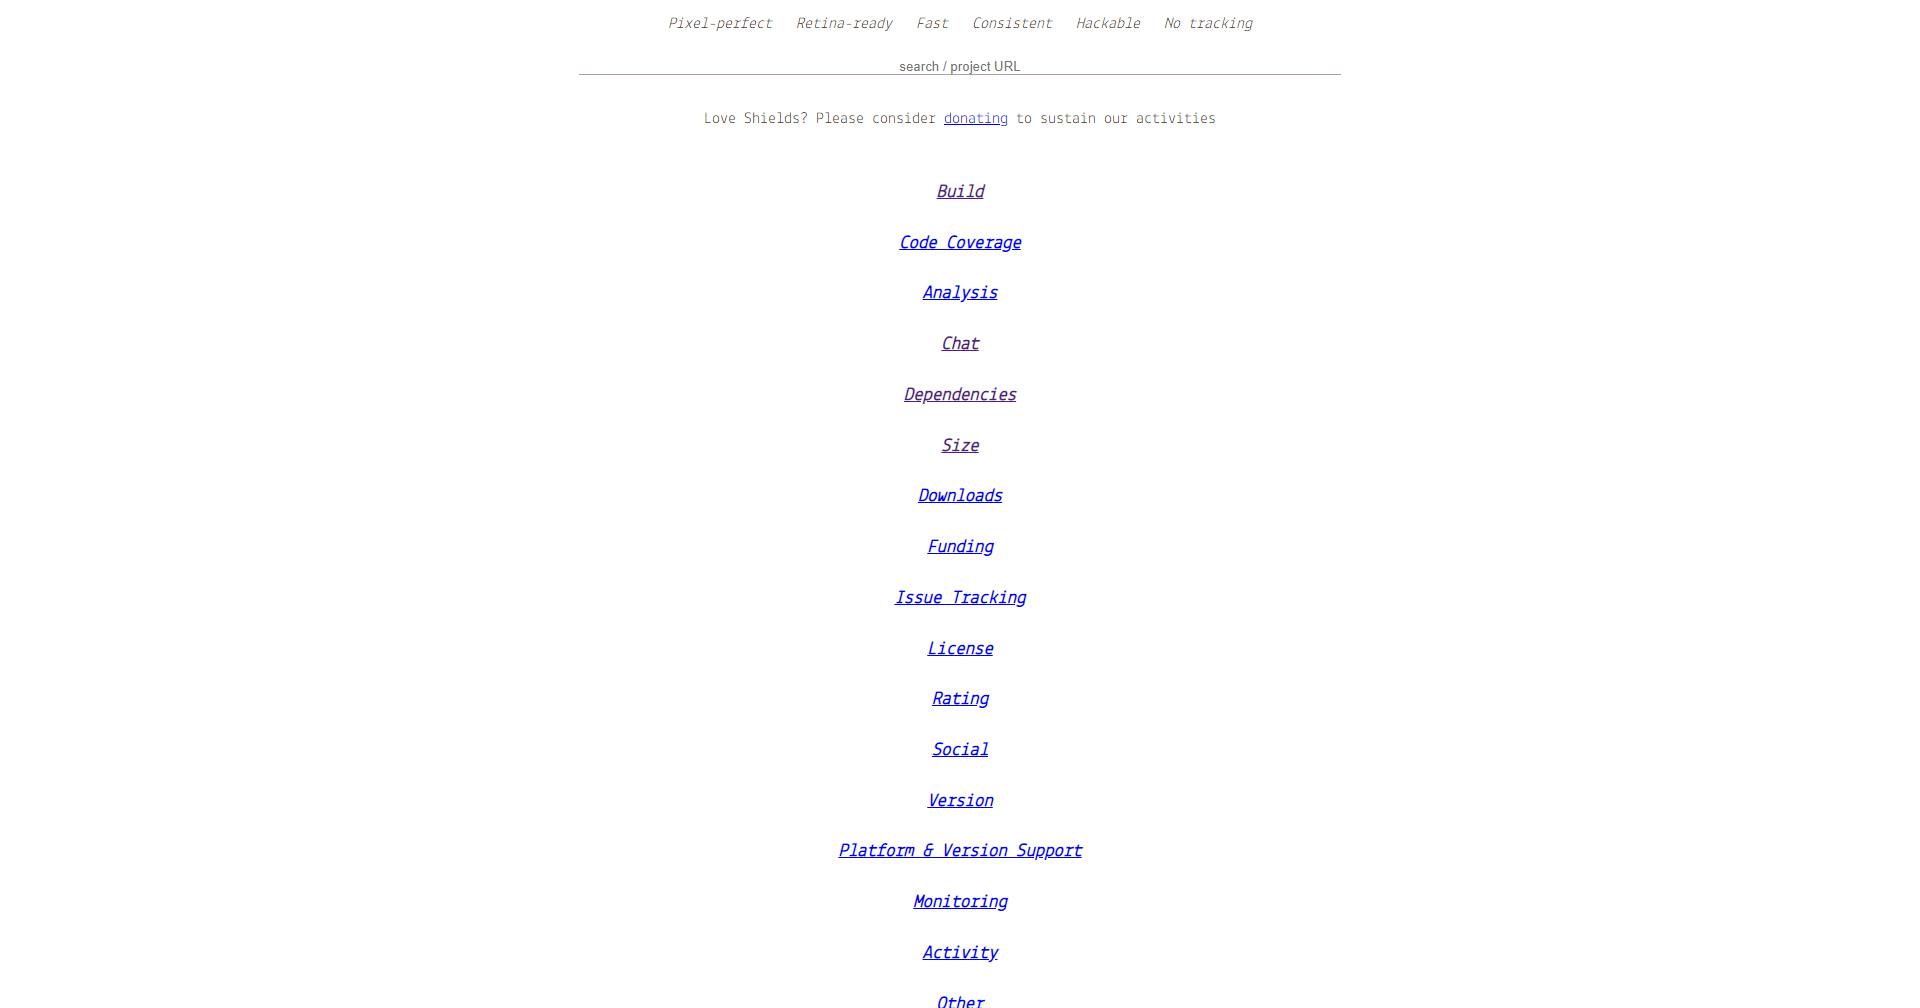
The first time we enter the webpage, we should see something like this:

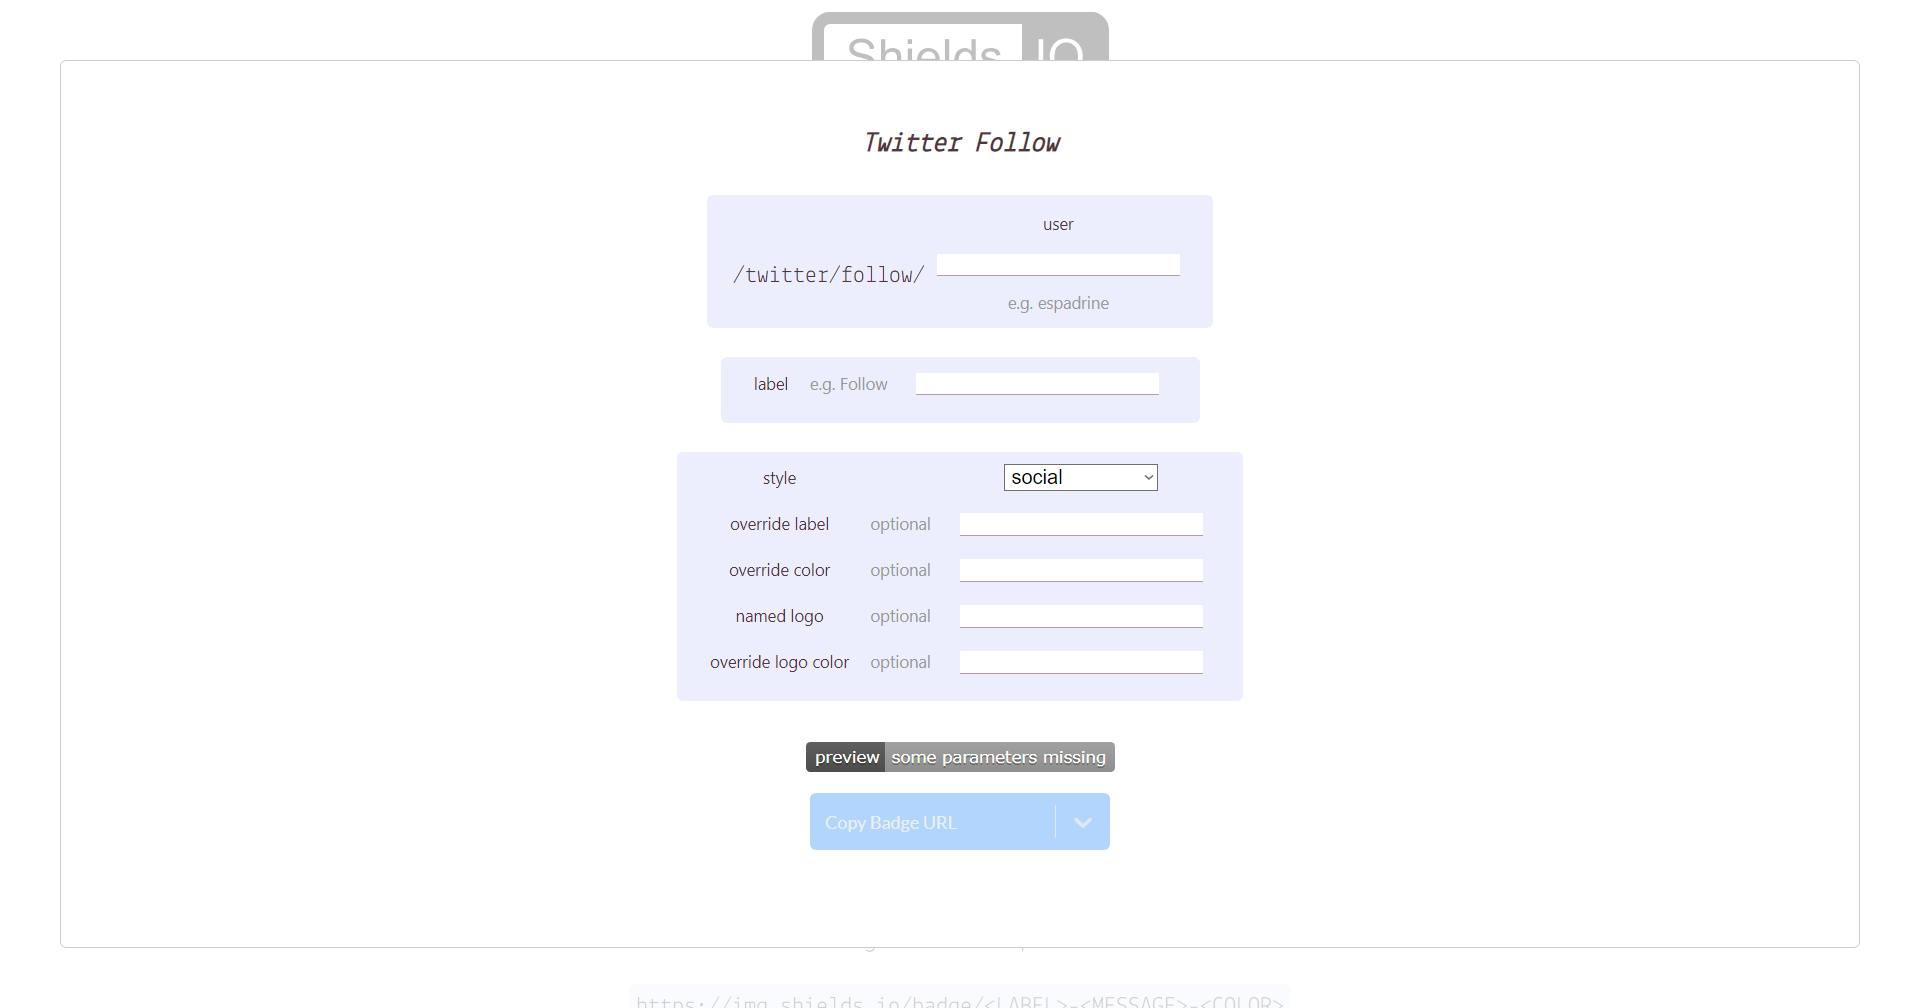
As we can see, there are a lot of options to choose from. But let's focus on our goal, the Twitter badge. If we search 'twitter', we see some options, one with just the logo and one that shows also the followers. Let's use the second one, so we click on it. Now we should see this:

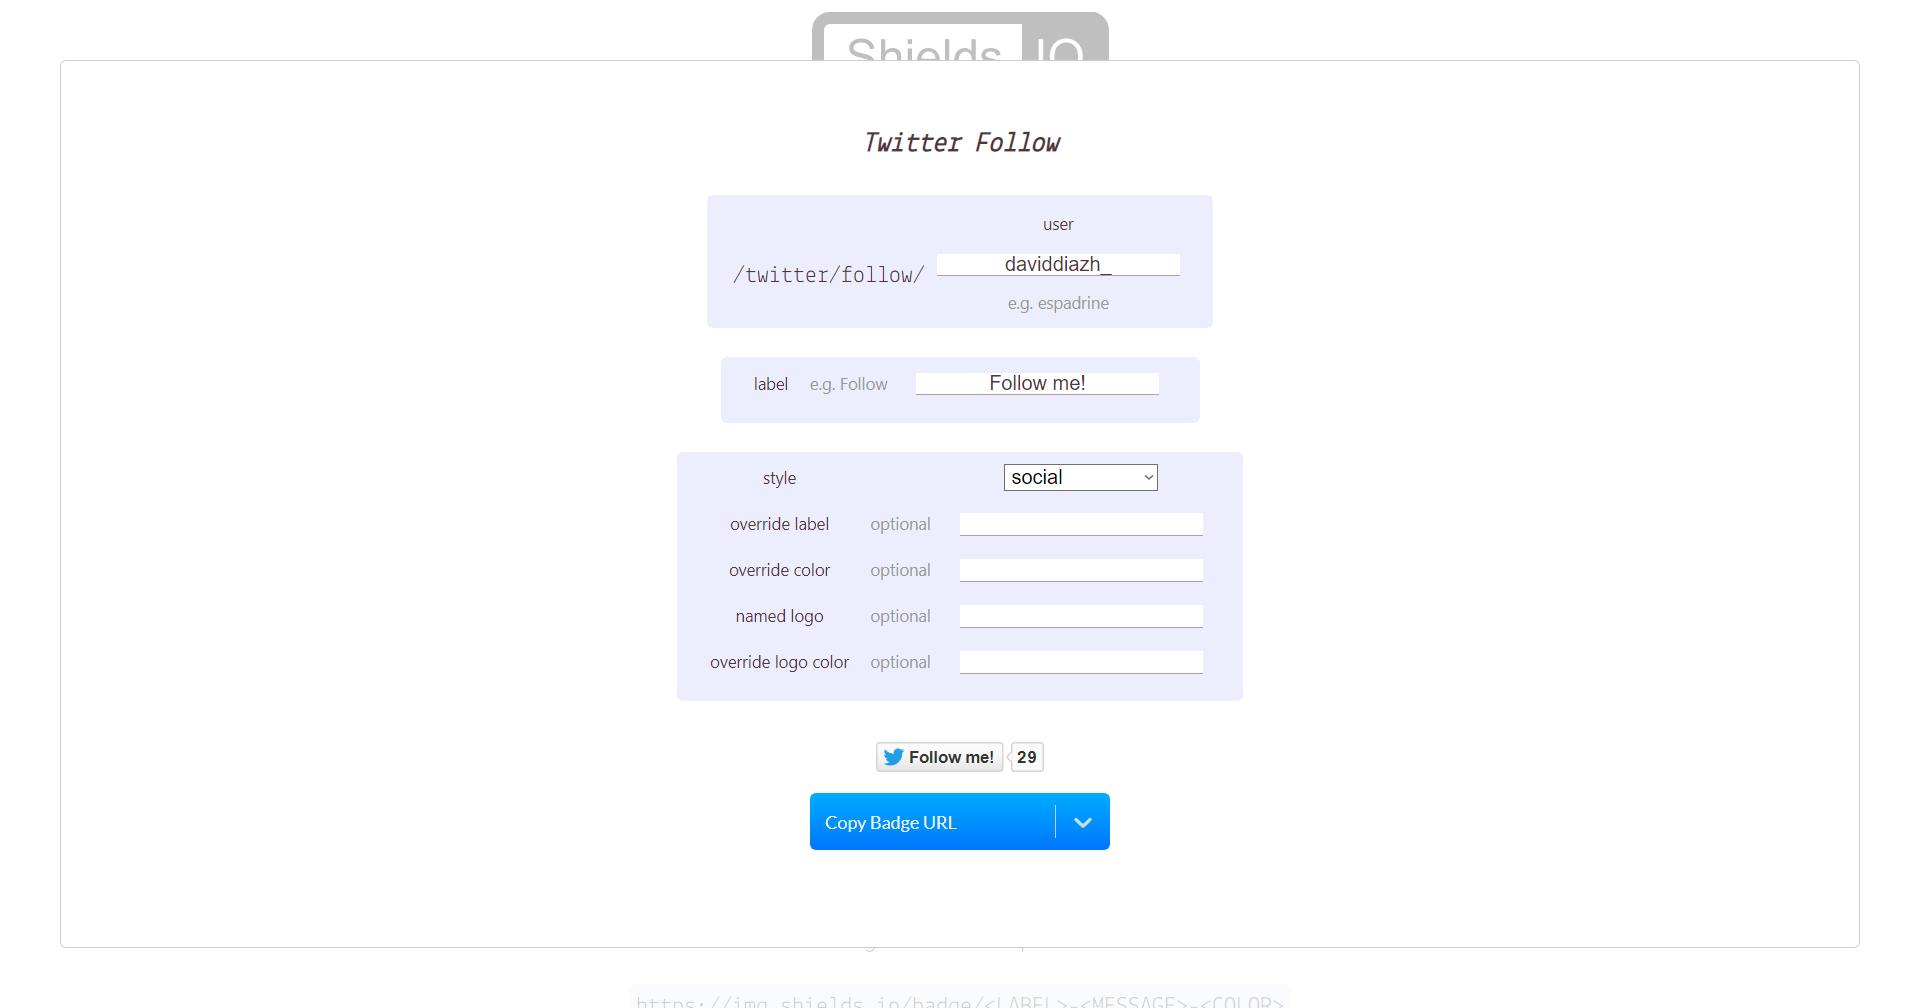
We can also get fancy and add some styles, but this time we'll stick to a simple 'Follow me!' text.

Now, let's click on the arrow on the left of the huge button that says 'Copy Badge URL' and click on 'Copy Markdown', and let's paste it on our own readme. This is what it looks like:

Now we have a fun little button to show our Twitter to the people!
Of course, showing a Twitter badge is not the most interesting thing we can do with this tool, but I think is a great example to show it and check how easy it is to use it.
Now it's your turn to find what are the most convinient badges to show on your repository, if you find an interesting one, let me know!
